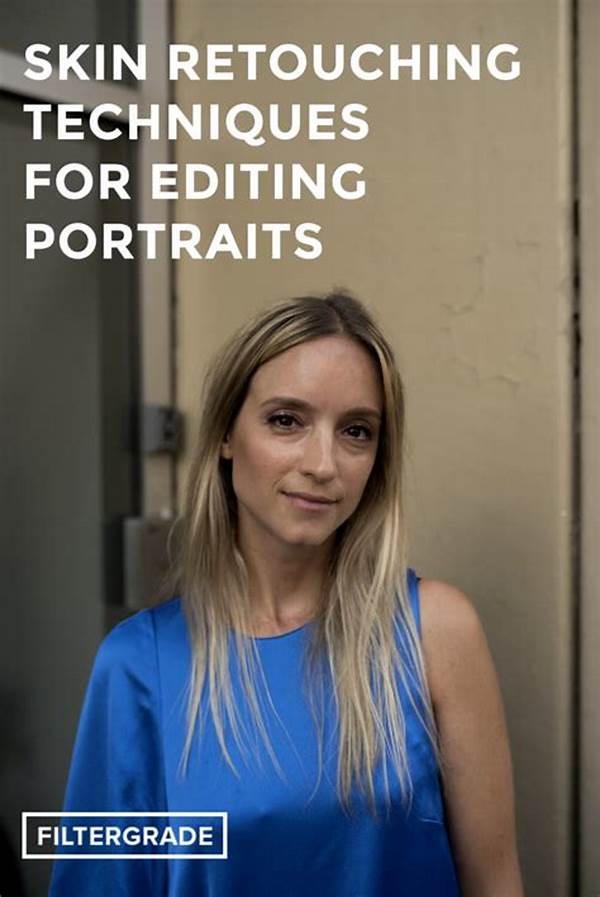
Hey there, photography enthusiasts! If you’re someone who’s been dabbling in the world of photo editing, chances are that skin retouching in Adobe Lightroom is something you’ve heard of or even experimented with. Lightroom is a powerhouse for photographers, offering versatile tools for enhancing your portraits and taking them to the next level. But where do you start? Let’s dive into the seamless world of skin retouching, and learn how this magical tool can make your pictures pop.
Read Now : Enhancing Images With Natural Elements
Understanding Skin Retouching in Adobe Lightroom
Alright, let’s break it down. Skin retouching in Adobe Lightroom doesn’t mean turning your subject into an airbrushed mannequin. It’s all about enhancing natural beauty while maintaining texture. Start with the Healing Brush for blemishes. You know that one pimple that showed up uninvited for picture day? Yeah, that. The Healing Brush is your personal pimple zapper. Next, move to adjustments with the Clarity slider to enhance or soften details. Skin retouching in Adobe Lightroom should feel like a fairy godmother swished her wand – subtle, magical, and retaining the essence of the person in the photo.
One of the keys to mastering skin retouching is not overdoing it. Listen up, less is more. We want to celebrate the unique, real characteristics, not erase them. Use the Adjustment Brush to selectively target areas needing attention. Lighten shadows or add a bit of warmth with a tint right where it’s needed, creating a balance. Skin retouching in Adobe Lightroom, when done right, gives you polished and professional outcomes, without sacrificing authenticity.
To wrap it up, keep exploring! Lightroom presents a world of possibilities at your fingertips. Try experimenting with the Presets to get an instant feel of what you can achieve. Every slider and tool can contribute to a masterpiece if wielded thoughtfully. The beauty of skin retouching in Adobe Lightroom is that every adjustment brings you one step closer to enhancing the natural allure of your photos, bringing out that sparkle in everyone’s eyes.
Essential Tools for Skin Retouching in Adobe Lightroom
1. Healing Brush: This is your go-to for pesky blemishes. Whether it’s a surprise breakout or minor skin inconsistencies, the Healing Brush in skin retouching in Adobe Lightroom smooths these out effortlessly, leaving behind clear, vibrant skin.
2. Adjustment Brush: Think of this as your magical paintbrush. With the Adjustment Brush, you can selectively highlight or soften parts of the image. It’s perfect for addressing shadows or highlights without affecting the entirety of the portrait.
3. Clarity Slider: The Clarity Slider adjusts the sharpness and texture. By easing off on the clarity, you smoothen out the skin’s appearance. Still, it’s crucial to handle with care to keep the skin natural during skin retouching in Adobe Lightroom.
4. Presets: Presets are your shortcut to achieving the vibe you’re going for. There are numerous presets specifically designed for skin tones which can help provide a savvy framework during your retouch process.
5. Graduated Filter: This tool is a fantastic way to make broader edits without manual brush adjustments. For specific areas like forehead shine, the Graduated Filter offers a gradual, more refined retouch during skin retouching in Adobe Lightroom.
Tips for Effective Skin Retouching in Adobe Lightroom
When starting with skin retouching in Adobe Lightroom, dive into the Healing and Cloning Tools for immediate corrections. Next, explore targeted edits with the Adjustment Brush for detailed enhancements. You can adjust texture without over-polishing, and trust presets to maintain a consistent approach across multiple photos. Experiment and see the magic unfold!
Read Now : Creative Diy Photoshoot Backdrops
Consistency is key as you perfect your skills in skin retouching in Adobe Lightroom. Understand how light affects skin tones and utilize localized tools like the Radial Filter to maintain natural skin allure. Tinker with balancing curves for that flawless finish. Creativity mingled with practice makes your portraits truly stand out in the crowd.
Exploring Effects for Skin Retouching in Adobe Lightroom
It’s easy to get hooked on the possibilities of skin retouching in Adobe Lightroom. First, familiarize yourself with the software’s intuitive layout. Aim to reduce blemishes with spot corrections, not eliminate inherent features. Use the HSL (Hue, Saturation, Luminance) Panel for tone adjustments. This panel offers nuanced control over color vibrancy, essential for maintaining lifelike skin tones.
Prioritize sharpening techniques and noise reduction tools that amplify image clarity. Introduce a gentle vignette to draw eyes to the subject, enhancing focus harmoniously. Finally, don’t underestimate the impact of white balance adjustments. They can seamlessly correct tone discrepancies, polishing your portrait. Skin retouching in Adobe Lightroom is about striking the balance between technology and artistic vision.
Guidance for Beginners: Skin Retouching in Adobe Lightroom
Mastering the Basics
As you embark on your journey with skin retouching in Adobe Lightroom, remember that every adjustment should respect the authenticity of the subject. Start slow, getting comfortable with each tool’s unique touch. Adjust clarity cautiously and play around with exposure and contrasts. These simple tweaks can vastly enhance your portrait’s vibrancy.
Once you navigate the basics, venture into utilizing Lightroom’s advanced functions. Techniques such as frequency separation, though often more intense, are invaluable for high-end retouching. Tools like the Color Grading will help you achieve a cohesive look through consistent tones, making skin retouching in Adobe Lightroom a rich field for creative exploration.
Advanced Techniques for Skin Retouching in Adobe Lightroom
Exploring Creative Boundaries
Skin retouching in Adobe Lightroom isn’t just a task, it’s an art. Advanced users can delve into multi-layer adjustments, combining tools like the Radial and Graduated Filters for a dynamic effect. Sync settings across images for consistent quality in projects like weddings or fashion shoots. Efficiency meets artistry here, allowing your photo collection to tell a unified, vibrant story.
Take advantage of Lightroom’s capacity to integrate with Photoshop for those editing tasks that demand more precision. Toggle between software to refine skin tones and textures further. Lightroom’s non-destructive editing ensures your original images remain untethered, letting creativity flow without restrictions. Each session will surprise you as skin retouching in Adobe Lightroom unleashes unparalleled photographic potential.


