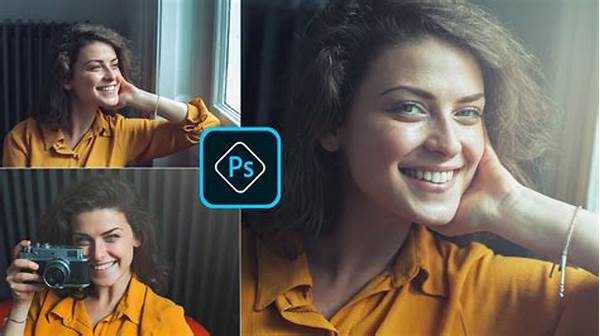
Hey there, fellow photography enthusiasts! Whether you’re a pro in the field or just someone who loves to capture moments, understanding ISO settings can be the key to nailing that perfect shot. Today, we’re diving into the world of portrait photography, specifically focusing on portrait image ISO recommendations. Let’s unravel this together and make sure your portraits truly shine!
Read Now : Top Software For Profile Image Enhancement
Understanding ISO for Portraits
When it comes to portrait photography, achieving the right ISO setting can make a world of difference in capturing the beauty and essence of your subject. ISO, the sensitivity of your camera’s sensor to light, is crucial. With portrait image ISO recommendations, it’s often suggested to keep your ISO as low as possible, especially in well-lit environments, to maintain image sharpness and reduce noise. Natural light is a portrait photographer’s best friend, allowing for low ISO settings, usually between 100 and 400. This range keeps your images crisp and clear, highlighting the finest details.
However, not every photo session happens outdoors or in perfect lighting. Sometimes, you find yourself indoors or in dimly lit settings. In these cases, we need to adjust and adapt to the situation. Increase your ISO to around 800 or even 1600 in controlled environments to capture portraits without introducing too much noise. These portrait image ISO recommendations help you maintain a balance between lighting conditions and image clarity, ensuring each shot is as beautiful as your subject.
Ultimately, experimenting with ISO settings is key to mastering portrait photography. Take the time to play around with different settings in various lighting conditions to see what works best for your style. Remember, portrait image ISO recommendations are guidelines; your creative vision is what truly defines the art of photography.
Quick Tips for ISO Settings
1. Natural Lighting: Always start with a low ISO, around 100-400, as the ideal portrait image ISO recommendations suggest.
2. Indoor Settings: Bump it up to 800-1600 depending on the ambient light.
3. Test Shots: Don’t be afraid to take a few test shots to find the perfect ISO balance.
4. Experiment: Portrait image ISO recommendations are flexible, so experiment until you find your perfect look.
5. Stay Creative: Use ISO as a tool and let your creative instincts guide you to tell amazing stories through portraits.
Finding the Balance with ISO
Let’s be real, navigating ISO settings can be a bit tricky at first, but fear not! Finding that sweet spot for your portrait photography doesn’t have to be a headache. Portrait image ISO recommendations provide a roadmap for you to follow, ensuring you’re on the right path to beautiful images. Start simple; low ISO settings should be your go-to when natural light is in abundance. As you gain confidence, you’ll start to notice how different lighting setups influence your portraits and how adjusting the ISO helps maintain quality.
Cranking up the ISO may introduce some noise, but it’s often a necessary step in darker settings. The key is to find that balance where you preserve the essence of your portrait without compromising quality. A slightly grainy image sometimes adds a touch of mood and character. Photography is an art, and ISO is just another brush in your artistic toolkit. Keep those portrait image ISO recommendations in mind, and they will undoubtedly aid you in creating stunning, storytelling images.
Common ISO Adjustment Scenarios
Outdoor Daylight Portraits
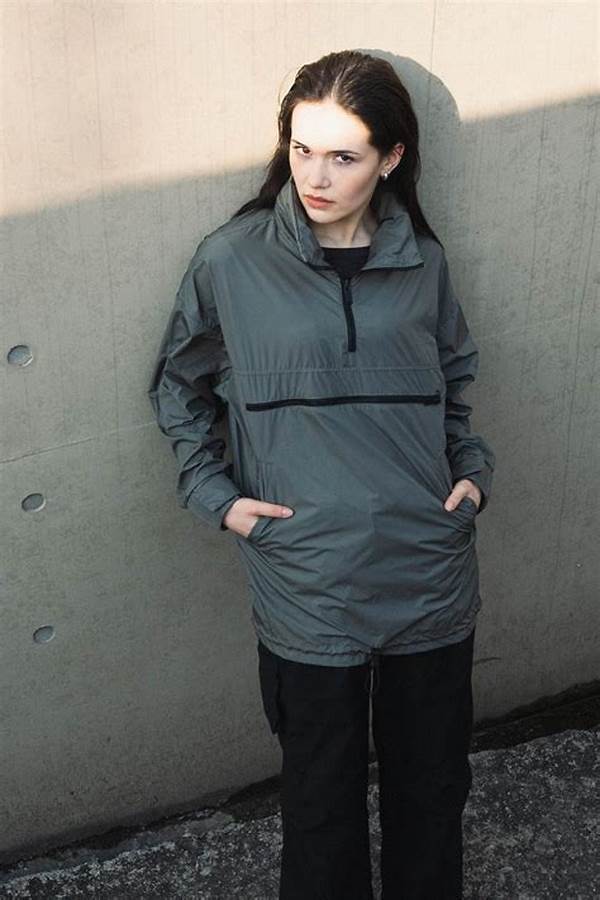
When shooting outdoors in natural sunlight, keep your ISO settings on the lower end, ideally between 100-200. This range allows you to exploit natural lighting fully and preserve image detail, aligning with typical portrait image ISO recommendations. Ensure you monitor the exposure and adjust your camera settings accordingly.
Indoor Portrait Photography
In indoor environments, lighting can be tricky. Depending on the natural light availability, you might find yourself dialing up the ISO to around 800-1600. These portrait image ISO recommendations help maintain clarity without excessive graininess, even if you’re not dealing with studio lights.
Golden Hour Magic
The golden hour – just after sunrise or before sunset – is a favorite among portrait photographers. With soft and warm lighting, keeping your ISO around 400-800 should suffice. This time of day provides optimal light, allowing for exquisite portraits with the right ISO tweaks.
Studio Shots
Controlled lighting in a studio setting offers versatility with your ISO settings. Generally, a mid-range ISO (200-400) should work perfectly, as studio lights fill in for low ISOs typical under natural conditions. Utilizing these portrait image ISO recommendations offer the best clarity.
Nighttime Portraits
For nighttime captures or low-light scenarios, ISO will be your savior. Consider boosting your ISO to 1600 or even higher. These portrait image ISO recommendations will help reduce the chance of unneeded blurriness in your nighttime shots.
Low-Light Creativity
Sometimes, abstract portraits taken in low light benefit from higher ISO settings. Embrace the moodiness by adjusting your ISO as needed, creating artistic images that speak volumes. Trust your instincts alongside these portrait image ISO recommendations.
Read Now : Dynamic Photography Framing Methods
Flash Photography
When using flash, you can generally maintain a lower ISO, between 100-400. The added light compensates for the lower ISO and keeps noise minimal. This is in line with standard portrait image ISO recommendations for flash photography.
Cloudy Days
A cloudy day doesn’t mean sacrificing your portrait quality. Adjusting your ISO upwards to about 400-800 ensures good exposure in these diffused lighting conditions, following portrait image ISO recommendations faithfully.
Action Portraits
Capturing motion within a portrait requires higher ISOs. Bumping up the ISO to 800-1600 allows you to increase shutter speed and capture crisp action shots without blurring.
Black & White Portraits
For black and white portraits, a higher ISO can add a grainy texture that enhances the artistic feel. An ISO of around 800-1600 can work beautifully, adhering to portrait image ISO recommendations for texture.
Navigating Portrait Image ISO Challenges
Photography is like a journey, filled with continuous learning and adaptation. When it comes to portrait image ISO recommendations, many photographers face challenges and learning curves. But here’s the thing – these challenges also present opportunities for evolution and innovation in your photography style. Often, it’s the unexplored adjustments, like tweaking even a single ISO setting, that open new avenues of creativity.
Graininess or noise from high ISO settings can be frustrating but remember, it can also add character to your photos. It’s all about balance. Portrait image ISO recommendations serve as guidelines but don’t let them box you in. Once you become comfortable with your ISO settings, you’ll begin to see it as an intuitive part of your workflow, allowing you to make quick adjustments on the fly and giving you the confidence to shoot in any lighting situation.
Persistence is key, and the beauty of digital photography is that you can take as many practice shots as you need. What’s important is to strike a balance that aligns with your artistic vision and delivers a portrait that resonates with your intended emotion or message. By integrating portrait image ISO recommendations and keeping an experimental mindset, you can capture the compelling essence of any subject in stunning detail. Happy shooting, and keep those portrait images coming!
Embracing ISO for Portrait Mastery
You know when you’re on a roll, snapping portrait shots left and right, only to realize they’re either too grainy or too dull? Yep, it’s an ISO problem! But don’t fret, folks, portrait image ISO recommendations have your back. Think of ISO as the unsung hero of photography. It’s like the bassist in a band, not always in the spotlight but crucial for the vibe. Finding that perfect setting is key, and with some practice, you’ll be capturing portraits that’ll have everyone talking!
Take some time to play around with your camera, venture outside, and practice in different lighting conditions. ISO adjustments can be your best friend or your worst enemy, but the journey to mastering it can be super fun! I promise you, once you get the hang of portrait image ISO recommendations, you’ll see improvements in every shot. Whether it’s a sunny park setting, a cozy cafe corner, or a dramatic studio backdrop, your portraits will shine with vividness.
Honestly, it’s like any other art: you’ve gotta mess up to learn! So don’t sweat it if you’re struggling. All the greats were amateurs once. Dive into the art of photography, let your creative juices flow, and watch how your portraits transform, effortlessly reflecting the depth and emotion of your subjects through the magic of ISO. Happy shooting, my friends!
Portrait Image Recommendations Recap
Let’s wrap things up on our little journey through portrait photography and the crucial role of ISO in achieving incredible portraits. If there’s one takeaway here, it’s that portrait image ISO recommendations serve as a compass to guide your artistic vision, not limit it. Like all photography tips and techniques, they’re there to illuminate your path, allowing you to understand how light and sensitivity come together to create art.
Remember, start with a lower ISO in well-lit conditions to maintain crisp, clear images. When the lighting isn’t cooperative, don’t shy away from pushing the ISO higher. A little noise can add drama and texture. It’s a delicate dance of creativity and science, where you are the choreographer deciding each shot’s rhythm. These recommendations are meant to equip you with knowledge, empowering you to make informed choices during your photoshoots.
As you continue to grow and explore your photography journey, keep experimenting, stay curious, and let your passion for capturing moments shape your work. The beauty of portrait photography lies in its ability to tell stories and evoke emotions, and by mastering ISO, you are well on your way to telling the most compelling stories your lens can capture. Take these portrait image ISO recommendations, mold them to fit your style, and above all, have fun! Happy shooting!