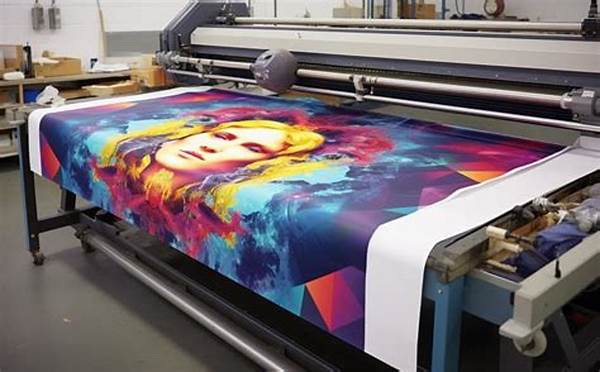
Hey there, fellow print enthusiasts! If you’re anything like me, you’ve probably noticed that making your images look stunning in print isn’t always as easy as it seems. You can’t just hit “print” and expect magic, right? Today, let’s chat about a few tips and tricks that can help in optimizing image quality for print. Buckle up—it’s going to be a fun ride through pixels and printer settings!
Read Now : How To Photograph Playful Cats
Understanding the Basics: DPI and Resolution
So, what’s the deal with resolution and DPI? If you’re looking to make your prints pop, understanding these basics is crucial. DPI stands for Dots Per Inch, and it essentially measures the level of detail in an image. The higher the DPI, the crisper your image will look. When optimizing image quality for print, aim for a resolution that’s at least 300 DPI. Why 300, you ask? It’s pretty much the sweet spot for high-quality prints. Any lower, and you could end up with pixelated messes; higher, and you might not notice much difference unless you’re printing out a billboard! Always start with the best quality image you can get your hands on and work your way from there.
Another key point is resizing your image. A common mistake is to stretch a low-resolution image hoping it won’t affect the quality—spoiler alert, it totally does. When resizing, make sure your image maintains its aspect ratio to avoid any unintentional squishing or stretching. Trust me, there’s nothing worse than seeing your perfect shot look like it went through a funhouse mirror because it wasn’t resized properly.
File Formats and Colors
Who knew file formats were so important, right? JPEGs, TIFFs, and PDFs tend to be the holy trinity when it comes to optimizing image quality for print. Each format has its perks: JPEGs offer flexibility, TIFFs deliver quality without compression, and PDFs put everything into a neat package that’s print-ready. It’s like choosing the right tool for the job!
Colors are another crucial element. The CMYK color model is your best friend in the print world. Why CMYK and not trusty ol’ RGB? CMYK stands for Cyan, Magenta, Yellow, and Key (black), which are the ink colors a printer uses. Images in RGB format (Red, Green, Blue) can look great on your screen but might cause unexpected results in print. So yeah, converting those bad boys before hitting print is a must for optimizing image quality for print.
Pre-Press Magic
Did someone say pre-press? Oh yes! It’s the secret sauce in optimizing image quality for print. Before the actual printing, get into the habit of doing a proof print. It’s like taking your images for a test drive. It helps identify potential issues with colors and layout that might not be visible on your monitor. Even though it’s an extra step, trust me, your final result will be much better for it.
Calibration also plays a crucial role in optimizing image quality for print. Your monitor and printer need to speak the same language, and ICC profiles can help bridge that communication gap. Plus, using high-quality paper can make a massive difference. You’ve done the hard work of preparing your image; don’t let it down by using low-grade printing materials.
Tips and Tricks on Optimizing Image Quality for Print
1. Always start with a high-resolution image to prevent pixelation.
2. Use 300 DPI for the best balance of quality and file size.
3. Resize images proportionally to maintain aspect ratio.
4. Opt for TIFF format for uncompressed quality.
5. Convert your images to CMYK before printing.
Read Now : Tips For Photographing Active Felines
6. Use ICC profiles for consistent colors.
7. Run a proof print to catch errors early.
8. Choose high-quality paper to enhance your print.
9. Make sure your printer settings match your image specifications.
10. Regularly maintain and clean your printer for optimal performance.
Troubleshooting Common Problems
Ever print an image and think, “This isn’t what I expected”? We’ve all been there! Whether it’s weird color shifts or unexpectedly grainy textures, troubleshooting is an essential part of optimizing image quality for print. Start by ensuring your printer settings align with your image properties. It’s easy to overlook but makes a huge difference.
Paper also speaks volumes. Different papers can drastically affect how prints appear—glossy might add shine, while matte might deliver a classic feel. Dig deeper into your printer’s capabilities and paper stock options to minimize surprises. So when something funky shows up, remember, solutions are usually just a tweak away!
Wrapping It Up: The Art of Optimizing Image Quality for Print
And there you have it, folks! We’ve journeyed through the fundamentals of optimizing image quality for print, from understanding DPI to nailing color conversions. Remember, practice makes perfect. Each print is an opportunity to learn something new. Sometimes, all it takes are tiny adjustments to completely elevate your prints!
So next time you’re preparing that treasured photo for a frame, or crafting the perfect flyer for an event, keep our little chat in mind. Armed with these insights and a bit of patience, you’re well on your way to producing prints that are as jaw-dropping in real life as they were in your imagination. Happy printing!


