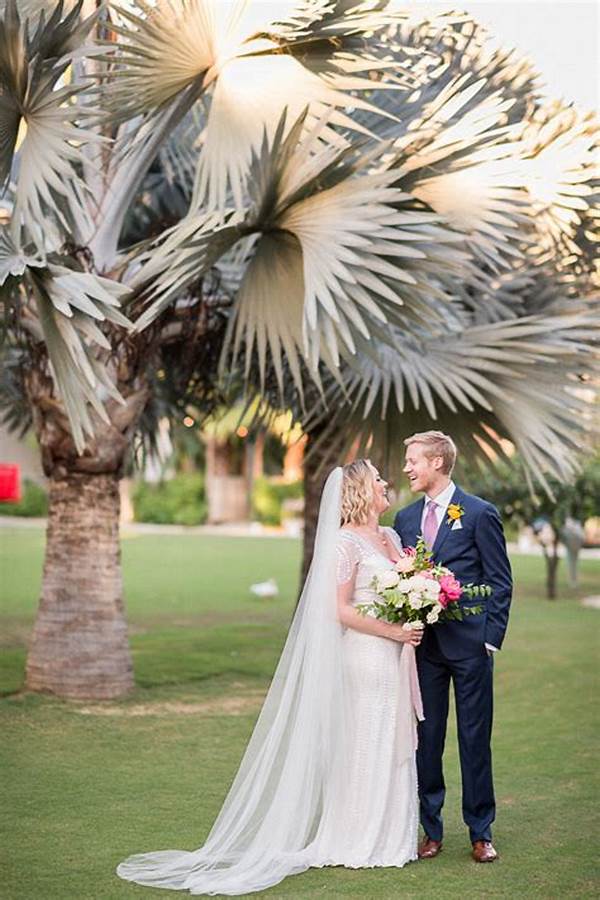
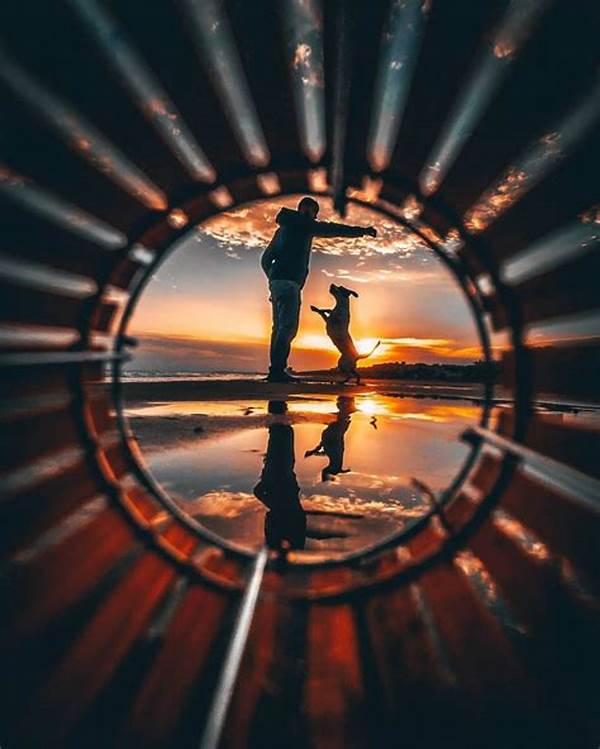
Hey there, fellow photography enthusiasts! If you’ve ever found yourself frustrated with blurry or noisy outdoor portraits, you’re in the right spot. Let’s dive into the intriguing world of ISO settings and nail down the optimal ISO for outside portrait sessions. Whether you’re shooting during golden hour or under a blazing afternoon sun, understanding ISO can be a game changer!
Read Now : Adjusting Shutter Speed For Effect
What is ISO and Why Does it Matter?
ISO is basically your camera’s sensitivity to light. The lower the ISO number, the less sensitive your camera is to light, which usually translates to crisp and detailed images. On the flip side, a higher ISO amps up the light sensitivity, which can come in handy, but can sometimes lead to unwanted noise. When we talk about the optimal ISO for outside portrait sessions, it’s all about striking the perfect balance. If you’re out during the day with plenty of natural light, sticking to a low ISO like 100 or 200 is usually golden. It helps you capture the fine details and rich colors without that pesky noise sneaking in. However, as the sun starts dipping and light becomes a bit scarce, nudging up your ISO can save the day.
Getting to grips with your ISO settings can feel a bit overwhelming, but once you start experimenting, you’ll get the hang of it. Actively adjusting your camera settings based on the light conditions can transform your portraits from flat to fabulous. The optimal ISO for outside portrait sessions isn’t a fixed number; it’s more about understanding the lighting environment and adjusting accordingly. So next time you’re outdoors with your camera, take a moment to assess the light, tweak your ISO, and watch your portraits come to life!
Quick Tips for Finding the Optimal ISO
1. Low Light, Higher ISO: As the light fades, increase the ISO to capture the subject better.
2. Bright Day, Lower ISO: Strong daylight means you can stick with a lower ISO setting for sharper images.
3. Experiment in Shade: Often in shaded areas you’ll need to raise the ISO—but don’t go too high! Finding the optimal ISO for outside portrait sessions ensures clarity without noise.
4. Monitor ISO-Noise Balance: Always check your images for noise when increasing ISO.
5. Use Auto-ISO Wisely: If you’re unsure or in a rush, using the auto-ISO can help, but keep an eye on your camera’s preferences.
Managing ISO Settings on Your Camera
ISO settings can sometimes sound technical, but fear not! While shooting outside, especially on emotive portrait sessions, try setting ISO manually. This gives you more creative control over your shots. Automatic settings might not always provide the optimal ISO for outside portrait sessions because they can’t capture the specific ambiance you’re aiming for.
Pairing a low ISO with a wide aperture and fast shutter speed in full daylight helps capture stunning detail without that dreaded noise. But as you move into shadows or your light source fades—think magic hour sunsets—upping the ISO is your friend. Keep a close eye on how changes affect your photos. Don’t be afraid to take multiple shots of the same scene with slight tweaks—this can really help zero in on the best ISO level for a particular setting.
The Importance of Optimal ISO During Outdoor Shoots
1. Ensures Better Lighting: Striking the perfect ISO prevents underexposed or overexposed shots.
2. Subtle Details: A lower ISO helps clinch those fine details; fantastic for capturing every facet in those close-up portraits.
3. Minimizes Motion Blur: Quick movements are frozen in time with the right ISO setting.
4. Color Accuracy: Correct ISO settings maintain colors just as you see them, no post-processing needed.
5. Flexibility in Fast-Changing Light: Finding the optimal ISO for outside portrait sessions keeps you ready for rapid changes in natural light.
Read Now : “understanding Shutter Speed Basics”
6. Preserves Dynamic Range: Lower ISOs help in retaining highlight and shadow detail.
7. Noise Reduction: Deft ISO control minimizes noise even in dim lighting conditions.
8. Enhances Ambiance: Boosting ISO effectively captures the mood and natural lighting of an outdoor shoot.
9. Camera Performance: The optimal ISO for outside portrait sessions ensures your camera operates efficiently.
10. Efficiency in Post-Processing: Spend less time editing and more time clicking!
Diving Deeper into the World of ISO
Alright, so you’ve got your hands on that camera, and you’re all set for some cool outdoor portraits. But what is this ISO thing everyone keeps talking about? Simply put, ISO controls how sensitive your camera sensor is to the incoming light. Understanding the optimal ISO for outside portrait sessions can totally take your photography game to another level.
Picture yourself on a bright, sunny morning—ideal setup for shooting with a low ISO like 100 or 200. This keeps your images super clear and full of detail. But, let’s say clouds start rolling in, or you find a great spot under some leafy shade. Here’s where tweaking the ISO upwards (to maybe around 400 or 800) keeps things balanced without making your shots grainy.
The Slangy Side of ISO Adjustments
Yo, fellow snappers! Let’s rap about ISO, and snatch all the pro tips to ace them outdoor portraits, shall we? When you’re vibing outside, soaking that good sunlight, you gotta set your ISO low, like 100 or 200—easy peasy! Less noise means crisp shots. But, when clouds crash your sunlight party, just bump that ISO quick. Get those shadows tattled on, but be cool about not going too high ’cause you don’t want no grainy pics ruining your groove.
So, finding that optimal ISO for outside portrait sessions is like jamming with the light. Keep your aperture wide, let in that bright light, and when that sun dips, tweak the ISO. Now, slide into those camera settings, and let your shots do the talking.
Wrapping Up: Finding Your Optimal ISO
So, there you have it—a sneaky peek into mastering ISO settings for outdoor portraits. It isn’t just about numbers. Getting the optimal ISO for outside portrait sessions is a mix of art and science. You’re playing with light, exploring shadows, and capturing emotions. From the bright midday sun to the soft evening glow, each offers a fresh ISO adventure.
Remember, while the camera specs can guide, it’s your personal touch that sets your portraits apart. Keep experimenting, feel the vibe of each session, and adjust the ISO to fit your artistic flair. Equip yourself with these tips, and soon, finding the perfect ISO will be as instinctive as snapping the shutter. Go out there, capture the stories in the light, and have fun with every click!


