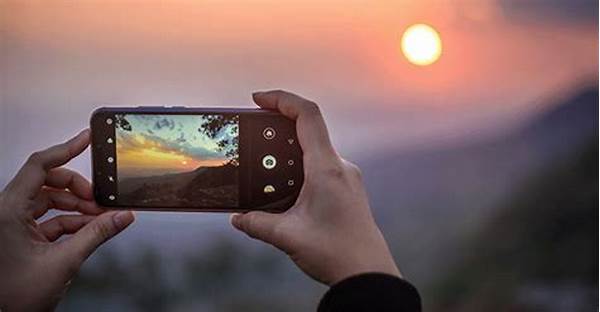
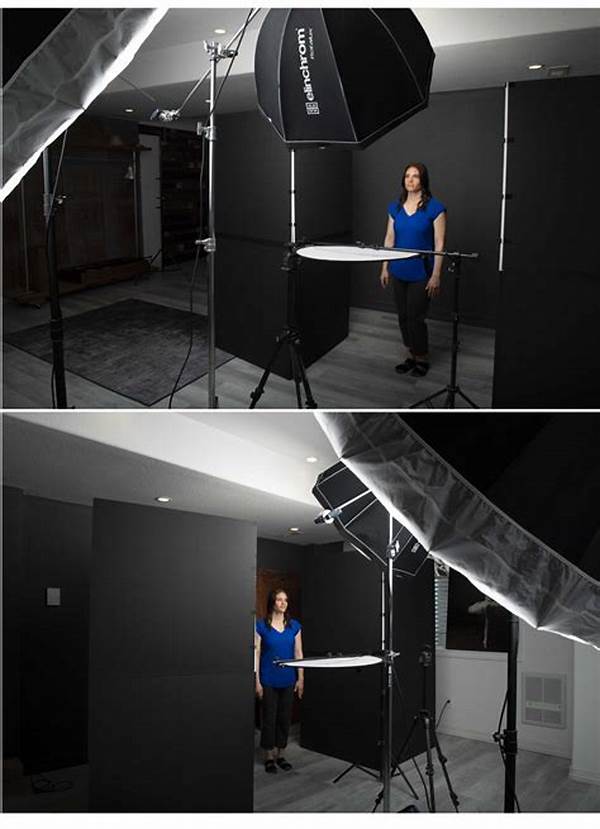
Hello there, shutterbugs! 🌟 Ever found yourself fumbling with your smartphone, struggling to catch that perfect pic, only to end up with something too dark or just downright unflattering? Believe me, we’ve all been there. Lighting is like the fairy godmother of photography—it can either make your shots magical or leave them in the shadows. But fear not, because with a little know-how, you can truly master the art of photography lighting on your phone. So, grab your smartphone and let’s shine some light on the secrets of mastering lighting for smartphone photos.
Read Now : Capturing Visual Balance In Photos
Understanding Light and Its Role
When it comes to mastering lighting for smartphone photos, the first step is understanding the different types of light and how they affect your pictures. Natural light is usually your best friend—it’s soft, flattering, and easy to work with. For instance, take photos during the golden hours—early in the morning or late in the afternoon—when the sun provides beautifully diffused light. But let’s not forget about artificial light, which can also enhance your photos if used correctly. The trick is to avoid harsh overhead lights and instead opt for softer or even colored lighting to add mood and depth. Flash, while often tricky on smartphones, can be handy in low-light situations. The key is to know when and how to use it to avoid washed-out faces.
Exploring the magic of shadows is another intriguing aspect of mastering lighting for smartphone photos. Shadows can add drama, highlight textures, or give your image an artistic flair. They play nicely with light, adding dimension and interest. Experiment with shadows during different times of the day and in various settings to discover their potential. Understanding how light and shadow interact will elevate your smartphone photography and help you capture images that stand out.
Finally, there’s controlling exposure. Most smartphones allow you to adjust the exposure manually. It’s like opening or closing window blinds to let in more or less light. Your smartphone camera is smarter than you think! Use this feature to control the brightness of your shot, ensuring your subject is well-lit and not lost in the dark. Mastering lighting for smartphone photos means paying attention to these details, and soon you’ll see a noticeable difference in your pics.
Tips for Perfect Lighting
1. Natural Light Lover: Nothing beats natural light. Cozy up to a window or step outside for softer, more even lighting. When mastering lighting for smartphone photos, natural is always best.
2. Golden Hour Magic: Photograph during the golden hour for those dewy, warm tones. Trust me, it’s pure magic for mastering lighting for smartphone photos.
3. Avoid Direct Sunlight: Direct, mid-day sunlight can be harsh, especially on faces. Find some shade or diffuse the light for softer shadows.
4. Create Reflections: Use reflective surfaces like mirrors or water to play with light and add interest to your shots. It’s a fun way of mastering lighting for smartphone photos.
5. Smartphone Flash Savvy: If you must use flash, soften it with a piece of tissue over it. This is a clever trick in mastering lighting for smartphone photos.
Editing and Enhancing Your Shots
Once you’ve captured your photos, the next step in mastering lighting for smartphone photos is knowing how to edit and enhance them. Editing is a powerful tool that can drastically change the look and feel of your images. For beginners, apps like Snapseed or Lightroom Mobile are user-friendly and packed with features. You can adjust brightness, contrast, and highlights to bring out the best in your shots. Remember, editing is like seasoning your food—you want to enhance the flavors without overpowering them.
Color correction is another crucial aspect of post-processing. When mastering lighting for smartphone photos, achieving accurate colors can make your images pop. Adjust the white balance to correct any color cast; sometimes, a slight tweak is all you need. Also, play around with saturation and vibrance, but be cautious not to oversaturate, as this can make your photos look unnatural. A balanced edit will highlight the light you worked so hard to capture.
Finally, don’t shy away from experimenting with filters. While some purists might turn down their noses at filters, they can certainly add flair to your photos when used judiciously. Apps often offer a variety of filters that can enhance your shot’s mood or tone, complementing the effect of the lighting. Remember, mastering lighting for smartphone photos doesn’t end with the shutter click; it’s an ongoing process that continues in the editing room.
Advanced Lighting Techniques
1. Backlighting Brilliance: Use backlighting for a dramatic effect. Position your subject between the light source and your camera.
2. Silhouette Shots: Capture silhouettes with strong backlighting by exposing the background more than the subject.
3. Bouncing Light: Use white or reflective surfaces to bounce light onto your subject, minimizing shadows.
4. Artificial Fill Lights: A small LED panel can be a great portable light source to fill shadows when needed.
Read Now : How To Watermark Images Free
5. Colored Gels: Use colored gels over light sources to add creativity and mood.
6. Diffused Flash: Use a diffuser for your smartphone flash to soften the light and minimize harsh shadows.
7. Highlight Textures: Side lighting can help you emphasize textures and add depth to your image.
8. Framing with Shadows: Use shadows creatively to frame your subject within the shot for a unique composition.
9. Low Light Shots: Employ a tripod or stabilizer in low-light conditions to avoid blurry images and keep your shots sharp.
10. Contrasting Colors: Experiment with contrasting lighting colors to create striking images.
Post-Processing: A Key Component
Hey again, photo enthusiasts! Let’s wrap this up by diving into an essential part of mastering lighting for smartphone photos—post-processing. Think of it as the finishing touch, the cherry on top of your gorgeous lighting cake. Now that you’ve sorted out your lighting skills, the edit can really transform your photos into masterpieces.
First off, remember that editing isn’t about drowning your photo in filters. It’s about subtle enhancements. Start with adjusting the basics like brightness and contrast. Many editing apps, like VSCO or Lightroom, let you tweak these elements easily. There’s something magical about breathing life and depth into your shots with a few simple adjustments. You’ll quickly learn to love this part of mastering lighting for smartphone photos.
Next, focus on the hues and saturation. Playing around here can give your snaps that pop of personality they deserve. But don’t go too wild—you don’t want Aunt May to look like an Oompa Loompa, right? Also, don’t forget to crop and straighten. A little snip here and there can change the whole story of your shot. With practice and a keen eye, you’ll find editing is your best mate in this adventure of mastering lighting for smartphone photos.
Conclusion
Yo, fellow photog! Mastering lighting for smartphone photos is a cool skill to have, right? It’s not just about fancy gadgets but more about having an eye for light. So, go out and play around. Remember, the best camera is the one you have, and with the right lighting, you can create pure magic.
To sum it all up, don’t be afraid to experiment. Every light situation is a new chance to get creative. Whether you’re outside enjoying the natural vibe or inside with a DIY setup, you’re in charge. Keep exploring, keep snapping, and you’ll totally nail mastering lighting for smartphone photos before you know it.
Ready to light the way to amazing photos? Let’s do this thing, one click at a time. And hey, why not share your rad creations with the world? You’ll be surprising everyone, including yourself. So, keep that phone charged and your eyes open for those enlightening moments. Peace out! 📸


