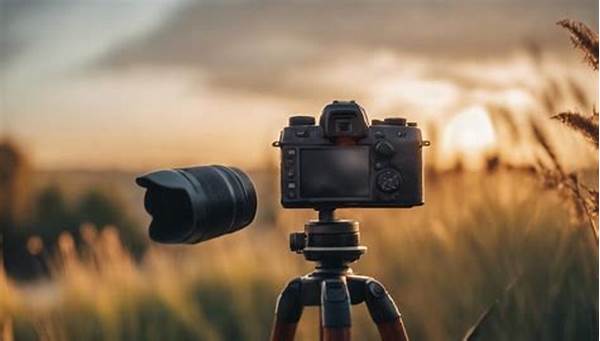
Welcome, fellow photography enthusiasts! If you’re here, you’re probably on a quest to capture those stunning outdoor shots that make everyone say “wow.” One key element to mastering outdoor photography is understanding ISO settings. These little numbers can make a huge difference in your photography game. With the right ISO tips for outdoor photography, you can capture breathtaking shots, whether you’re deep in the woods or on a bustling city street. So, grab your camera, let’s dive into the world of ISO and light up those photos!
Read Now : High-quality Watermarking Software Options
Understanding ISO for Outdoor Shoots
When it comes to outdoor photography, ISO is your best friend. Think of it as your camera’s sensitivity to light. The lower the ISO number (like 100 or 200), the less sensitive it is, which is great for bright, sunny days. However, bumping up the ISO can be a game-changer when sunlight is scarce, like during golden hours or overcast days. But beware, higher ISO settings can introduce noise into your photos. The sweet spot for most outdoor photography tends to be between ISO 100 and 400, depending on the lighting conditions. In essence, mastering iso tips for outdoor photography is all about balancing light and reviewing your surroundings to get that perfect shot without any unintended graininess.
Quick and Snappy ISO Tips
1. Sunny Days: Keep your ISO low, around 100-200. Natural light is your best friend here, so let it shine!
2. Cloudy Conditions: Crank up the ISO slightly to around 400 to compensate for the lack of light.
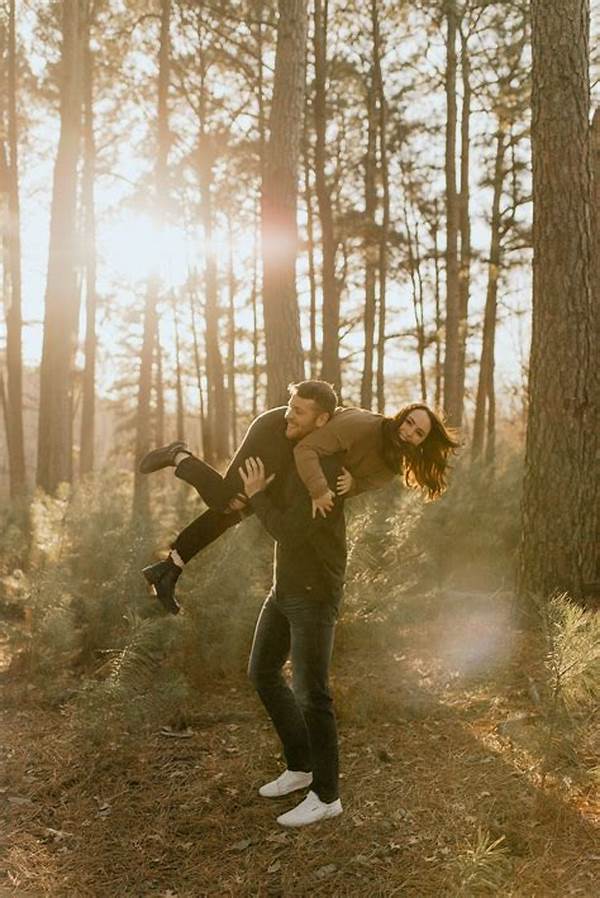
3. Golden Hour: Boost your ISO to capture those magical moments without losing detail. Aim for about 400 to 800.
4. Shade Photography: Add some ISO to your settings, between 200 and 400, to brighten up shadowy areas without losing quality.
5. Night Adventures: High ISO settings can help, but balance it with shutter speed to avoid noise, possibly around 800 to 1600.
ISO Settings: When and How to Adjust
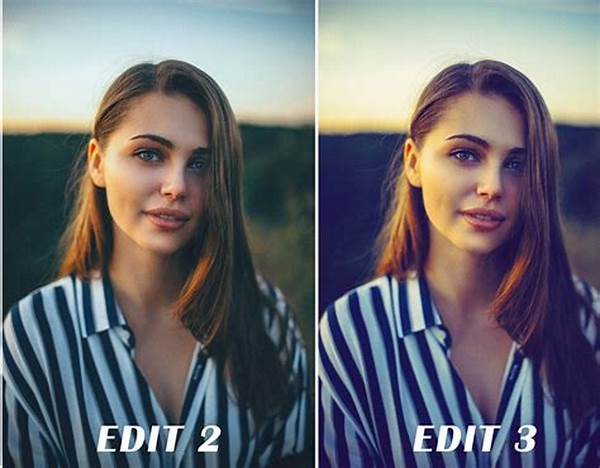
Adjusting ISO settings according to different lighting conditions is the secret sauce of professional-looking photos. For outdoor shots, always start by evaluating the natural light. If you’re under the mid-day sun, low ISO is ideal. However, as the sun sets, increasing your ISO to around 400 or 800 helps maintain clarity and detail. Remember, editing tools can only do so much, and getting your ISO right in-camera saves time and preserves image quality. Following iso tips for outdoor photography can reduce dependency on post-editing. Moreover, understanding how to adjust ISO properly during the day or night ensures you have photographs full of life and color without unnecessary disturbance or grain.
Mastering Different Conditions with ISO
1. Bright Sunlight: Low ISO. Aim for 100-200 for clean, sharp images.
2. Overcast or Cloudy: Intermediate ISO. Between 300-400 works wonders.
3. Golden Hour/ Evening Lighting: Boost ISO to 600-800 to capture soft lighting details.
4. Shady Areas: Moderate ISO. Increase it to ensure clarity.
Read Now : User-friendly Online Watermark Editors
5. Sunrise/Sunset: High ISO. Near 800 for perfect tones.
6. Nighttime Cityscapes: Carefully balance between 800 and 1600 ISO.
7. Low-light Nature: Bump up ISO slightly to combat dim lighting.
8. Indoor to Outdoor Transitions: Adjust ISO quickly to maintain exposure.
9. Snow or Beach Photography: Low ISO around 100 to prevent overexposure.
10. Foggy Days: Intermediate ISO, between 300-500 to capture detail through mist.
Practical Situations of ISO Usage
We’ve all been there, wanting that perrrfect shot but dealing with tricky lighting. Here’s where knowledge of iso tips for outdoor photography comes into play. Suppose you’re on a beach during golden hour, and you want to capture every detail of the waves. Increasing your ISO is critical as natural light begins to fade. On a hiking trip in a forest, adjusting your ISO is an on-the-go necessity, especially when the dense canopy blocks direct sunlight, causing changes in exposure. And let’s not forget about night photography, where higher ISO levels play a significant role in capturing the intrigue of urban landscapes or moonlit scenes. So, play around, experiment, and let your creativity soar. Remember, every shot is a step toward mastering the perfect outdoor photograph!
The Slangy Guide to Outdoor Photography ISO
Yo, photo fam! Standing under the blazing sun or chilling in the shadows—outdoor snaps can be tricky. No worries though; with iso tips for outdoor photography, those challenges turn into opportunities. Straight up, keep it 100 (or 200) for those blue-sky days. Gray and moody? Show some love to the 400 zone. Then, for those sunset vibes, you gotta boost up! Think 600ish. Whatever the scene, let ISO lead you to victory. With just a quick flick of a button, you control the vibe. Now, step out, click away, and let the ISO magic unfold.
A Recap on Perfecting ISO
Here’s the lowdown on iso tips for outdoor photography: In the vast world of outdoor photography, lighting can be a foe or ally. Understanding and adjusting ISO takes your snapshots from “meh” to “whoa!” Keep the ISO low for bright daylight and amp it up for dim settings. Adjusting ISO wisely can make landscapes pop and portraits glow. Every tweak is progress toward nailed-it moments. And the next time you’re out snapping, these iso tips for outdoor photography will remind you that even under the most challenging conditions, great photos are just a click away. So, embrace those unpredictable skies and shadows, and never underestimate the power of ISO!