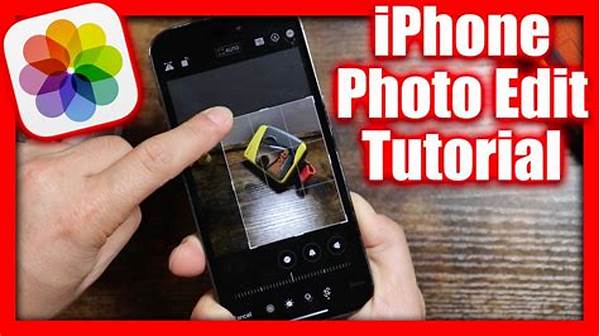
Hey there, shutterbugs! We’ve all been there—snapping photos on the go with our phones, only to feel like they lack that extra pop. But fear not! With some nifty tips and tricks, you can make your phone photos look just as stunning as the ones you envy on Instagram. Let’s dive into the world of editing phone photos like a pro and transform those average shots into jaw-dropping visuals.
Read Now : “mastering Leading Lines In Art”
Essential Tools for Editing Phone Photos Like a Pro
We live in a time when your phone can be your best friend for photography. Several powerful apps can elevate your shots, such as Lightroom, Snapseed, and VSCO. These apps allow you to play around with filters, exposure, and even more detailed edits like curves and color grading. Editing phone photos like a pro starts with familiarizing yourself with these tools. The key is to experiment—try adjusting the basics like brightness, contrast, and saturation to see what effects you like. Then, dig deeper with shadows and highlights for more depth and tone.
Another pro tip is to always shoot in RAW mode if your phone supports it. This gives you much more flexibility when editing later. Don’t be afraid to crop or straighten your photo to correct the frame—sometimes composition can be the game changer. Finally, always zoom in to check details before wrapping up your edits; make sure everything looks sharp and polished. With these tools at your disposal, editing phone photos like a pro is completely achievable!
Quick Tips for Editing Like a Pro
1. Use Consistent Filters: Select a filter that matches your aesthetic and stick to it to create a cohesive look for your photos.
2. Master the Curves: Get familiar with adjusting the curves for greater control over brightness and contrast in shadows and highlights.
3. Don’t Overdo It: Subtle changes often make the biggest impact. Remember, less is more when editing phone photos like a pro.
4. Shoot in Good Lighting: Natural light is your best friend. A well-lit photo can significantly reduce the need for heavy editing.
5. Experiment with Temperature: Warmth and coolness can drastically alter the mood of a photo—play around until you find the perfect balance.
Common Mistakes When Editing Phone Photos
It’s easy to get carried away when you’re on a roll, but editing phone photos like a pro means knowing when to stop. Many times beginners crank up the saturation so much that the picture looks unnatural. Over-sharpening is another common misstep, which can make images look too harsh. Always strive for balance and authenticity in your edits.
Watch out for noise, especially when adjusting exposure. Noise can clutter the detail, reducing the crispness of your photo. When it comes to cropping, ensure you don’t compromise the original composition of the image. Editing phone photos like a pro also means caring about the final composition. Lastly, don’t forget to save your edits properly—always keep a copy of the original photo.
Workflow Tips for Editing Phone Photos Like a Pro
Kicking off any editing session, it’s helpful to establish a consistent workflow. Here are ten quick steps:
1. Import Photos: Start by choosing your best shots.
2. Select a Preset: Presets are excellent starting points.
3. Adjust Exposure: Focus first on making the image visible and vibrant.
4. Tweak Contrast: Make the subject pop.
Read Now : Expert Photo Editing And Retouching Tutorials
5. Refine Colors: Play around with hues individually.
6. Work on Sharpness: Increase sharpness but avoid exaggerating.
7. Crop Smartly: Reframe for effect.
8. Apply Finishing Filters: Add cohesive polish.
9. Review Edits: Make sure nothing’s over the top.
10. Export Carefully: Preserve quality by using high-resolution settings.
Advanced Techniques for Editing Phone Photos Like a Pro
If you’ve got the basics down, it’s time to level up your editing game! Ever heard of dodge and burn? This technique allows parts of the photo to appear lighter or darker, adding depth. You can use apps with an adjustment brush tool to play around with this. Another tip is to utilize selective adjustments, helping you focus on specific parts of your photo.
The clone tool can also aid in removing unwanted elements from your picture, while the healing brush helps smooth out any blemishes. Finally, editing phone photos like a pro might mean dabbling in double exposure for creative effects! Whether it’s layering two different pictures or overlaying textures, this can dramatically change the vibe of your photo.
Slang Style: Editing Phone Photos Like a Pro
Alright fam, let’s get real about editing phone photos like a pro. You can’t just slap on any filter and call it a day, right? That’s so last season. When you snap that perfect shot, you gotta make sure it’s lit! Dive into those apps like Lightroom and VSCO. They’re the bomb for adding that extra oomph to your photos.
Start with those basic adjustments, ya know, brightness and contrast. Then, get your hands dirty with the deets—like curves and hues. Trust me, tweaking those babies make all the difference. And dude, don’t overdo it with the saturation. Nothing worse than a photo that’s screaming with colors, amirite? Keep it chill and let your pics speak for themselves. Editing phone photos like a pro isn’t hard once you got the flow!
Summary on Editing Phone Photos Like a Pro
So there you have it, editing phone photos like a pro is all about using the right tools, mastering the basics, and not being afraid to experiment. With your smartphone as your portable editing studio, the creative possibilities are literally at your fingertips. Whether it’s through apps like Snapseed or utilizing RAW mode for ultimate flexibility, you’ve got what you need to produce stunning images on-the-go.
Remember, it’s all about balance and staying true to the photo’s original essence. The goal is to enhance, not overwhelm. Keep these tips in your back pocket, and soon enough, your photo editing skills will have your socials looking next-level fabulous. Happy editing, and may your photo edits always be fire!


