Hey there! If you’re anything like me, you probably love snapping photos and capturing memories. But sometimes, the colors in those photos just don’t pop the way we want them to. No worries, though! I’ve got some totally easy and quick color correction tips to help bring your images back to life. Whether you’re a newbie or a seasoned editor, these pointers will help you enhance the vibrancy and clarity of your pictures in no time. So grab your favorite editing software, and let’s get started!
Read Now : Artistic Vision In Smartphone Photography
Why Color Correction Matters
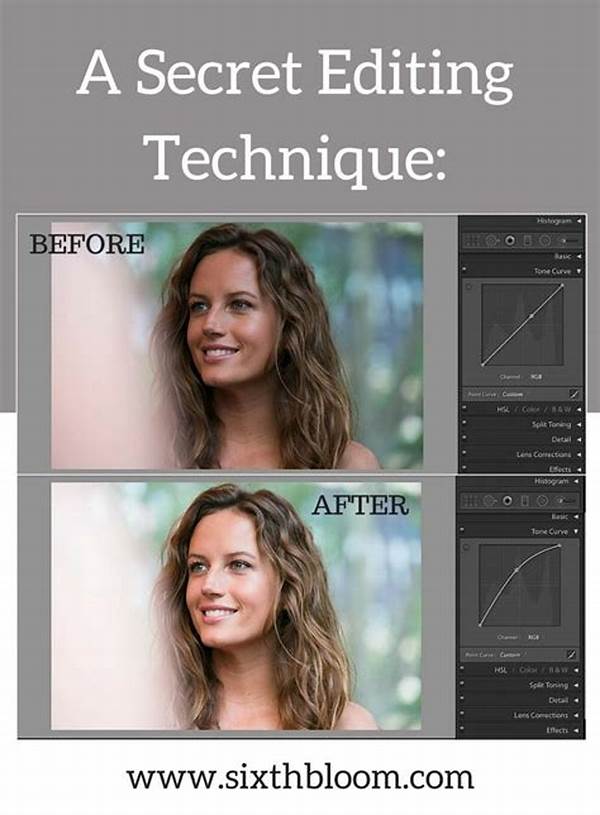
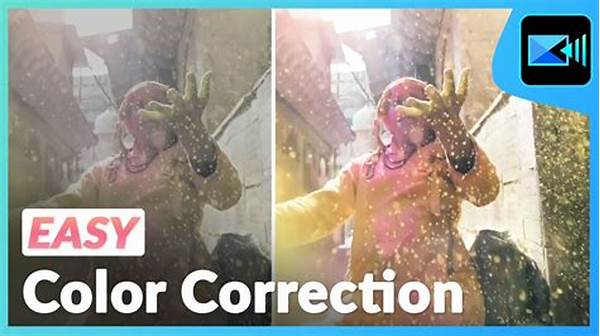
Color correction isn’t just a fancy editing term—it’s a game-changer for your photos! Imagine an amazing sunset picture that looks bland and washed out. The right color tweaks can transform it into a breath-taking scene filled with warmth and depth. With these quick color correction tips, you’ll be able to adjust the hues, tones, and saturation of your images so that they reflect the real beauty you saw through the lens. And hey, it’s not just about correcting mistakes—it’s also about enhancing the mood and feel of your shots. So, whether it’s brightening a dark photo, fixing skin tones, or making those ocean blues pop, color correction is your secret weapon!
But here’s the thing: you don’t need to be a professional to get mind-blowing results. Today, loads of intuitive tools and apps can help you make those quick color corrections. From sliders and presets for beginners to more detailed histograms for those wanting more control, the options are boundless. Remember, the goal is to make your photos look natural—unless you’re aiming for a specific artistic effect. Trust your instincts and don’t be afraid to experiment with these quick color correction tips. Who knows, you might just unlock a hidden talent within!
Basic Tools for Quick Color Correction
1. Brightness and Contrast: One of the vital quick color correction tips is adjusting brightness and contrast. Start by making simple tweaks to add dimension and depth to your photos.
2. Temperature: Want to make a snowy day feel warmer? Adjusting the temperature slider can change the mood. Go warmer for sunset vibes, or cooler for frostier feels.
3. Saturation: Boost those colors without overdoing it. Saturation can make your colors vibrant, but too much will make them look unnatural, so handle with care.
4. Hue Adjustments: Ever notice a blue tinge where there shouldn’t be any? Changing the hue can correct any funky coloring issues, giving your photos a natural look.
5. Shadows and Highlights: Enhance the intricate details in your images by playing around with shadows and highlights. This step is quick but offers significant improvements, making it one of the better quick color correction tips to use.
Common Mistakes in Quick Color Correction
Alright, so you’re diving into the world of editing with our quick color correction tips. But hold on! There are some common pitfalls that a lot of first-timers fall into. Over-editing is the biggie here. You want your photos to look lively, not like an abstract painting unless that’s your thing! One of the mistakes is cranking up the saturation too much, making your subjects look like they’ve had a bad fake tan. Also, try to avoid making shadows too deep or highlights too bright, as this can flatten out your image. It’s okay to play around, just keep it balanced.
Read Now : Choosing Attire For Profile Photo
Another mistake some peeps make is neglecting to pay attention to skin tones. You don’t want that gorgeous glow to turn into a pasty nightmare! Keep an eye on those tones to ensure no one’s looking like a cartoon version of themselves. Consistency is key as well. When working on a series of photos, make sure they all have a similar look and feel. Using presets can help keep everything consistent, saving you loads of time. So, as you explore these quick color correction tips, remember that practice makes perfect, and a light touch often goes a long way.
Different Editing Software
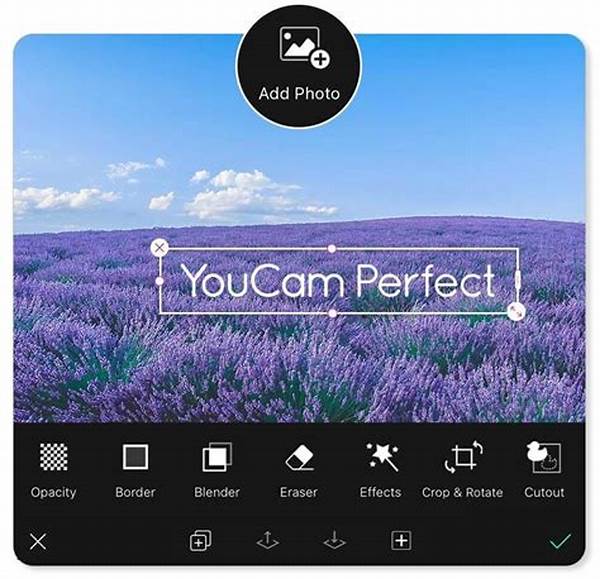
You’ve read about these great quick color correction tips, but which tool should you use? If you’re just starting out, software like Adobe Lightroom or Snapseed is perfect. They’re user-friendly and packed with preset filters that make editing a breeze. For those who love diving deeper, Adobe Photoshop gives you full control over every detail. Love doing things on the go? Mobile apps such as VSCO or Adobe Photoshop Express let you edit anywhere. No matter your level, there’s a tool out there to help make your photos shine with these quick color correction tips.
DIY Quick Color Corrections
When getting into DIY quick color corrections, it’s cool to keep it simple. First up: natural light is your friend. Shoot during the golden hour for the best light. Next, don’t be shy about using the auto-correct feature in your software—it can serve as a helpful starting point. Afterwards, refine the look to your taste. Also, practice editing your photos with similar color tones to keep the look consistent—it’s amazing what a unified palette can do! Don’t forget, posting on social media? Mantain colors true to life; it makes your feed shine.
Tech-Savvy Tips for Beginners
Alright peeps, so if you’re a newbie stepping into the quick color correction tips world, listen up! Start by nailing those basics, like adjusting brightness and contrast to make your photos pop. Check out those sliders—they’re not just for show! Temperature sliders are cool too; warmer or cooler tones can totally change the mood of your photos. If you’re feeling brave, experiment with hue adjustments to correct any strange color casts. Trust the process, and don’t forget to back up your originals just in case!
Conclusion: Elevate Your Photography Game
In the end, quick color correction tips are all about bringing out the best in your photos with just a few tweaks. The goal is to make them represent the reality or mood you felt while snapping the shot. Whether you’re working on professional-grade software or just using a smartphone app, these tips offer a great starting point. Explore each tool carefully and get comfortable with the changes they make. With practice, you’ll be able to quickly assess what each photo needs and apply the appropriate corrections confidently. Remember, practice and patience are keys to mastering this skill. Happy editing!